How to create a curriculum for your course in 9 steps


One of the first questions that Teachable creators ask is how to create a curriculum for a course. A course curriculum outlines everything that students will learn. It can include a collection of lessons, quizzes, and other resources.
Building a course curriculum can be challenging. This might be your first time creating a course or you could be a seasoned creator experiencing writer’s block. Think back to when you were first learning. Some topics that seem obvious to you now weren’t when you were a beginner. Another challenge is knowing where to start and organizing your thoughts into a structured plan.
Thousands of creators have built online courses with Teachable, and the most successful ones have thoughtful, easy-to-follow curriculums. But, how do you create a course curriculum that helps you teach students successfully?
In this article, we’ll outline a nine-step curriculum development process. We’ll also show you how to build one with AI using Teachable’s curriculum generator.
Table of contents
- Choose a topic
- Use Teachable’s AI curriculum generator
- Research your target audience and their pain points
- Identify a clear purpose and outcomes
- Create a list of milestones or lessons
- Group lessons into sections
- Estimate the time to complete
- Compile course content, materials, and resources
- Get student feedback
Download this worksheet to work on your curriculum.

1. Choose a topic
The best topics for online courses solve a problem and help students achieve a specific goal. They’re also in demand. So, remember: If there’s an audience interested in learning about your expertise, they will pay for access to it.
To start, brainstorm course ideas that reflect your interests and skills. For example, let’s say you like to go thrift shopping, sew, and repurpose old clothes. You could create a course on sewing for beginners or focus it on how to make money upcycling and reselling vintage clothes.
Of course, the topic you start with isn’t set in stone. You can always refine your idea after doing research and working with students.
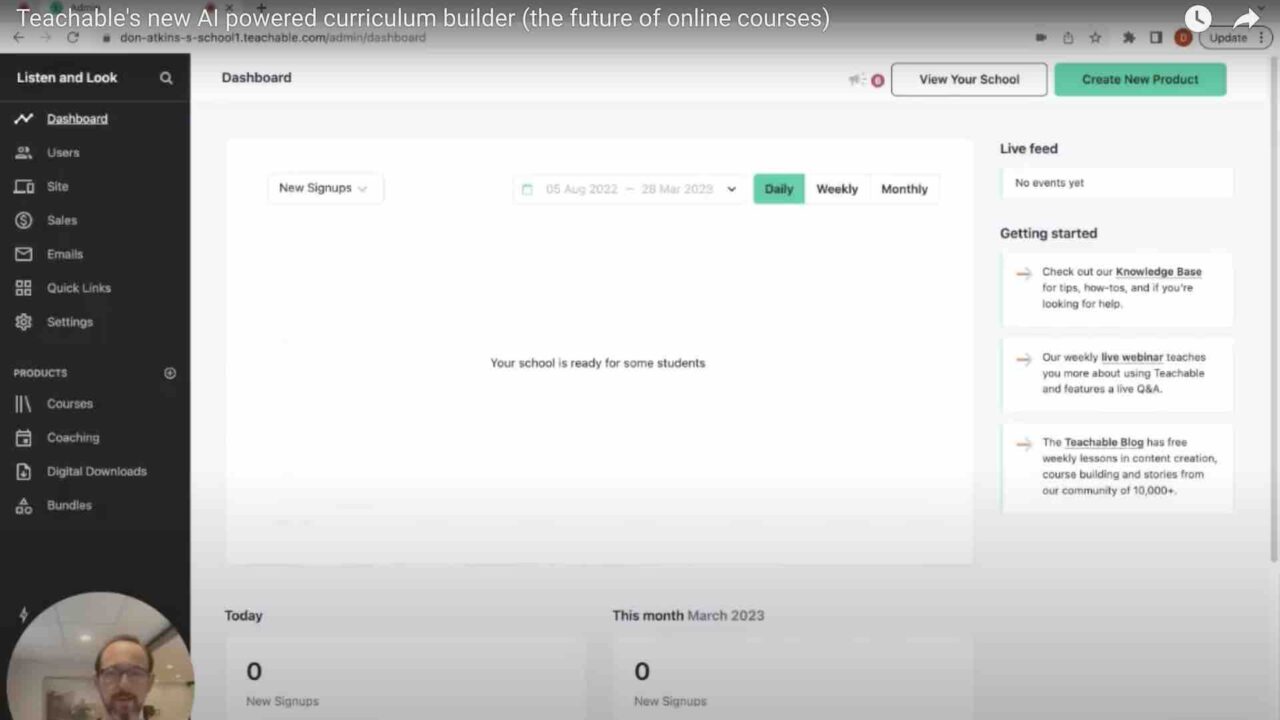
2. Use Teachable’s AI curriculum generator
Creating a course curriculum is a little easier (and faster) when you use Teachable. All you need is an idea and one to three sentences that describe the topics you’ll teach. When you create a new course, you can use Teachable’s AI curriculum generator to build an outline.
For instance, if you teach how to repurpose clothing, you might start with the prompt below.
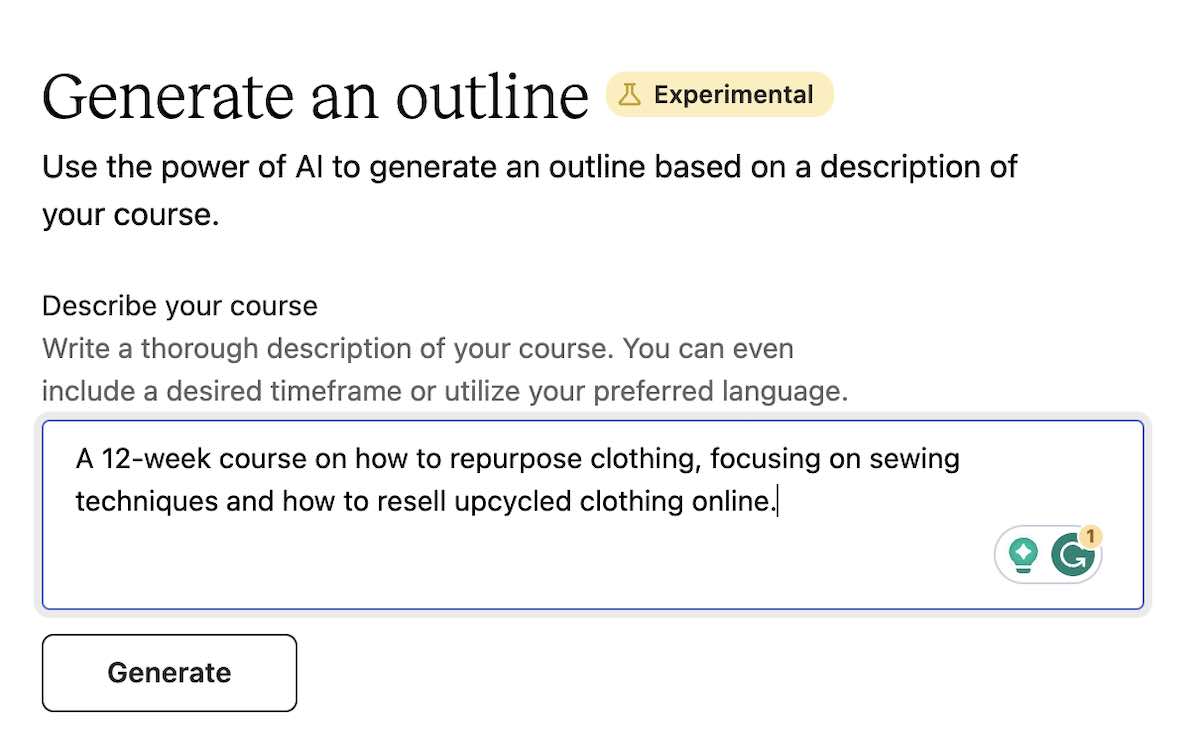
The generator’s outline would look something like this:
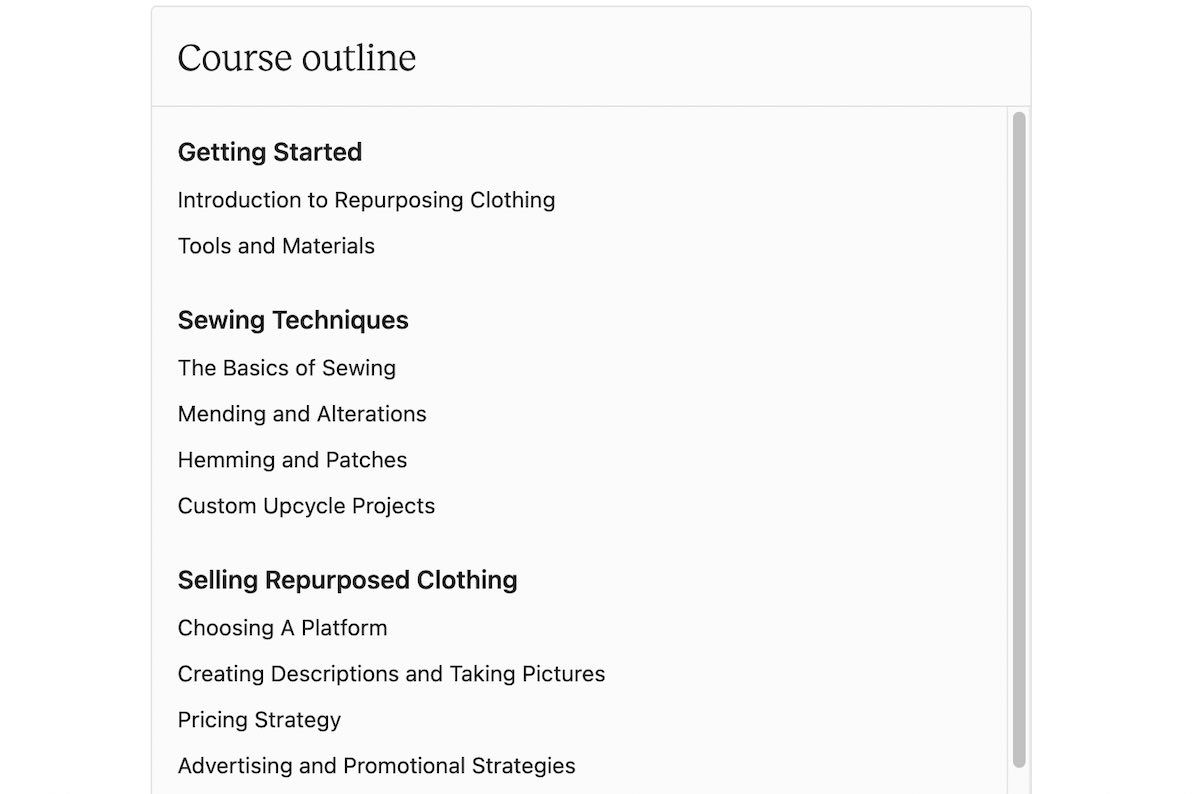
As with any AI tool, this would be more of a starting point that you can refine and edit to suit your needs. You can upload the AI curriculum directly to your Teachable school, but most creators do a little more research before publishing their courses.
To take your course curriculum further, follow these steps.
3. Research your target audience and their pain points
It’s hard to explain how to create a curriculum for a course without considering your potential students and their needs. So, next, you need to identify your audience and their pain points. Start by answering these questions:
- What group do you understand better than anyone else?
- What do you care about deeply?
- Is there a community that will benefit the most from your knowledge?
- What level are they in their learning journey—beginner, intermediate, or advanced?
If you think, “My audience is bloggers,” dig deeper and niche down. Your target audience may actually be college women who want to turn their blogs into full-time careers.
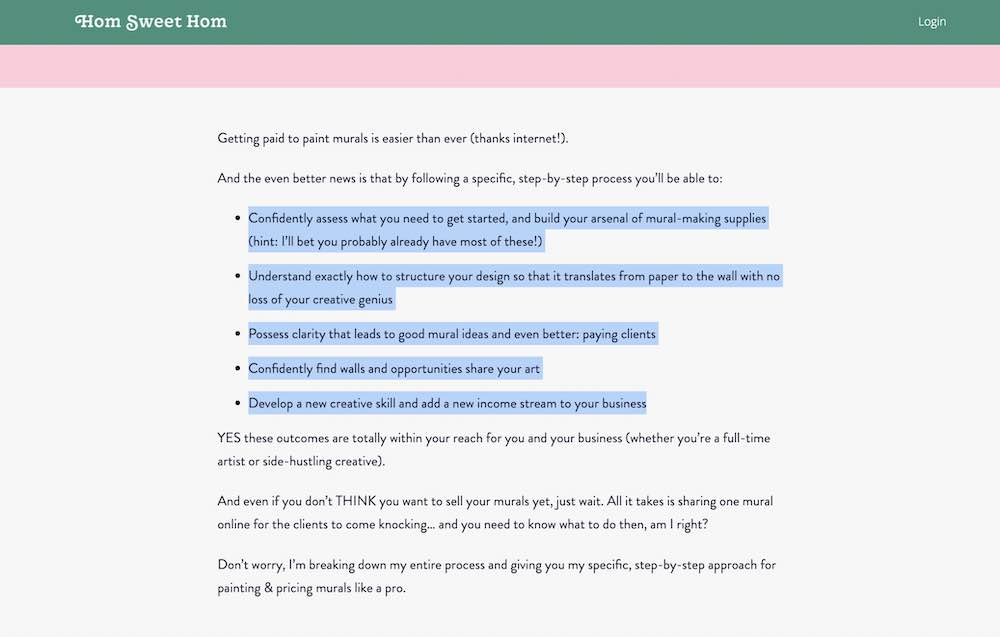
The better you understand your audience, the easier it will be to connect with them. Teachable creator and artist Lauren Hom, whose sales page is below, didn’t just say her mural class was for designers. She identified the struggles and reasons why designers take her classes.
She acknowledged that painting on a large surface can be overwhelming. Then, connect that challenge back to learning outcomes.

Do research to uncover your audience’s pain points. These are the problems your course helps solve. There are two primary ways that you can tackle this:
Survey online communities
If you’re in the early stages, you might not have potential students to survey. In this case, there are tons of online communities and tools that help you connect with and survey your target audience. Here are a few tactics that you can use:
- Join Facebook groups that are in your niche
- Research and join relevant subreddits
- Join professional Slack communities
Make note of frequently asked questions in these groups. You can also post and ask what topics they’d like to learn about or the challenges they face.
Poll your existing audience
If you already have a sizeable audience, send a survey. You can send one to your email list with a few questions that help you better understand their struggles. For example, if your audience is bloggers, you might ask:
- What are your blog goals?
- In what ways are you already monetizing your blog?
- How much do you earn from your blog every month?
Participants can answer anonymously, just ask a few demographic questions to help you sort through outliers.
Here are a few strategies for polling your audience and understanding their struggles:
- Send an email
- Create polls or ask in the captions of your Instagram stories
- Post in Facebook groups or subreddits where your audience hangs out
- Write a blog post and ask your readers about their struggles
- Schedule discovery calls with a handful of your target audience
Once you’ve polled your audience, look for patterns and make a list of pain points that they frequently mention.
4. Identify a clear purpose and outcomes
Students take courses to reach an outcome. Assuming that you already have an idea and did audience research, your next step is to define student outcomes.
Let’s pretend that your audience is struggling to go from earning a few hundred dollars a month from their blog to making a full-time income.
Your goal could be to teach students to increase their blog revenue five times over by using specific tactics that you outline in your course. Once you’ve defined your outcome, you can start developing a curriculum.
To get started, ask these questions:
- What skills or knowledge will students gain?
- How will students benefit from your program?
- What will the learning environment look like?
- Will students need certain skills or tools to be successful?
- What will students be able to do after?
- How will it impact their lives?
- What personal or professional goals will you help them achieve?
You should clearly outline the outcomes of your teachings on your sales page. For example, going back to Lauren Hom’s Painting Murals for Designers course, she includes a bulleted list of the skills that students will have upon completion.
5. Create a list of milestones or lessons
Put yourself in your students’ shoes. Think about every skill you needed to learn or action you took to get to where you are today. Then, write everything down in a list. Each item on your list is a potential lesson.
As an example, the list you’d make for a full-time blogger course might look like this:
- Joined blogging networks
- Created a membership site for blog readers
- Added new sidebar ads to your site
- Inserted affiliate links into old posts
- Reached out to five new PR companies each week
- Emailing potential blog sponsors
- Revised pricing or sponsorship rates
- Created a series of ebooks to sell
- Took on blog coaching clients
6. Group lessons into sections
Once you have your list, group each into modules or sections. Pulling from the example list above, you might call a section ‘working with brands’. Inside it, you could group together: joining blogging networks, reaching out to PR companies, and emailing potential blog sponsors. This way, each section is broken into shorter, easy-to-digest lessons.
The goal is to create five to ten that move from easy to more challenging. Starting with easy ones first gives students quick wins. They’ll be motivated to keep going. Then, as they build their skills, you can work up to the more time-consuming and difficult lessons.
Keep in mind that students might not consume your content all at once or from start to finish. Make it as easy as possible for them to find each lecture and jump around.
If you want students to learn from beginning to end without jumping around, you can do so with a Teachable paid plan. When adding your curriculum to Teachable, you can use the course compliance feature. With it, you can enforce a lecture order so that students must watch certain sections to move forward. You can also make it so they must watch 90% of a video before moving to the next lesson.
7. Estimate the time to complete
Your students will not only be investing their money but also their time. Naturally, they’ll want to know how long it will take to complete your course. To estimate the completion time, plan out the length of each of your lessons.
Try to keep each lesson video under ten minutes. In most cases, it’s better to have a handful of short videos than to jam all the information into one 30-minute video.
Of course, there are exceptions. You can break the rules if you think it will create better learning experiences. For example, if you’re teaching an art class and doing a Bob Ross-style “paint with me,” you may record a longer video.
8. Compile course content, materials, and resources
There’s much more to how to create a curriculum for a course than writing down a bulleted list of lessons. You have to create course content, record videos, upload files, add quizzes, and more.
It might seem like a lot but you don’t need fancy, expensive recording equipment to start. You can make an online course by recording a Loom, using your mobile phone, or voicing over a Google slides presentation. The important part is that each piece of content ties back to your course curriculum and student outcomes.
Make sure to answer these questions when creating materials and resources:
- How will this help students reach their learning goals?
- What should students learn from this lesson?
- How will you evaluate students?
- Will you use quizzes, graded assignments, or something else?
It may seem like creating courses will take a lot of work, but planning your curriculum makes it easier.
9. Get student feedback
Writing a curriculum is no easy feat. It’s also a learning process for you. Ask for feedback from current and past students.
- Was there anything that they wanted to learn that you didn’t include in the curriculum?
- What sections did they like the most?
- Did students think some sections could be removed or revamped?
Getting feedback from students can help you improve your learning experiences and overall outcomes. As time goes on, you’ll make small changes and updates to your course curriculum.
By making little improvements over time, you’ll build a curriculum that consistently delivers positive student experiences and results.
Now that you’ve explored how to create a curriculum for a course, you may be itching to start producing videos and launching online. To create and sell your course, sign up for Teachable. You can get started with a free plan, build a curriculum with AI, and sell other digital products.